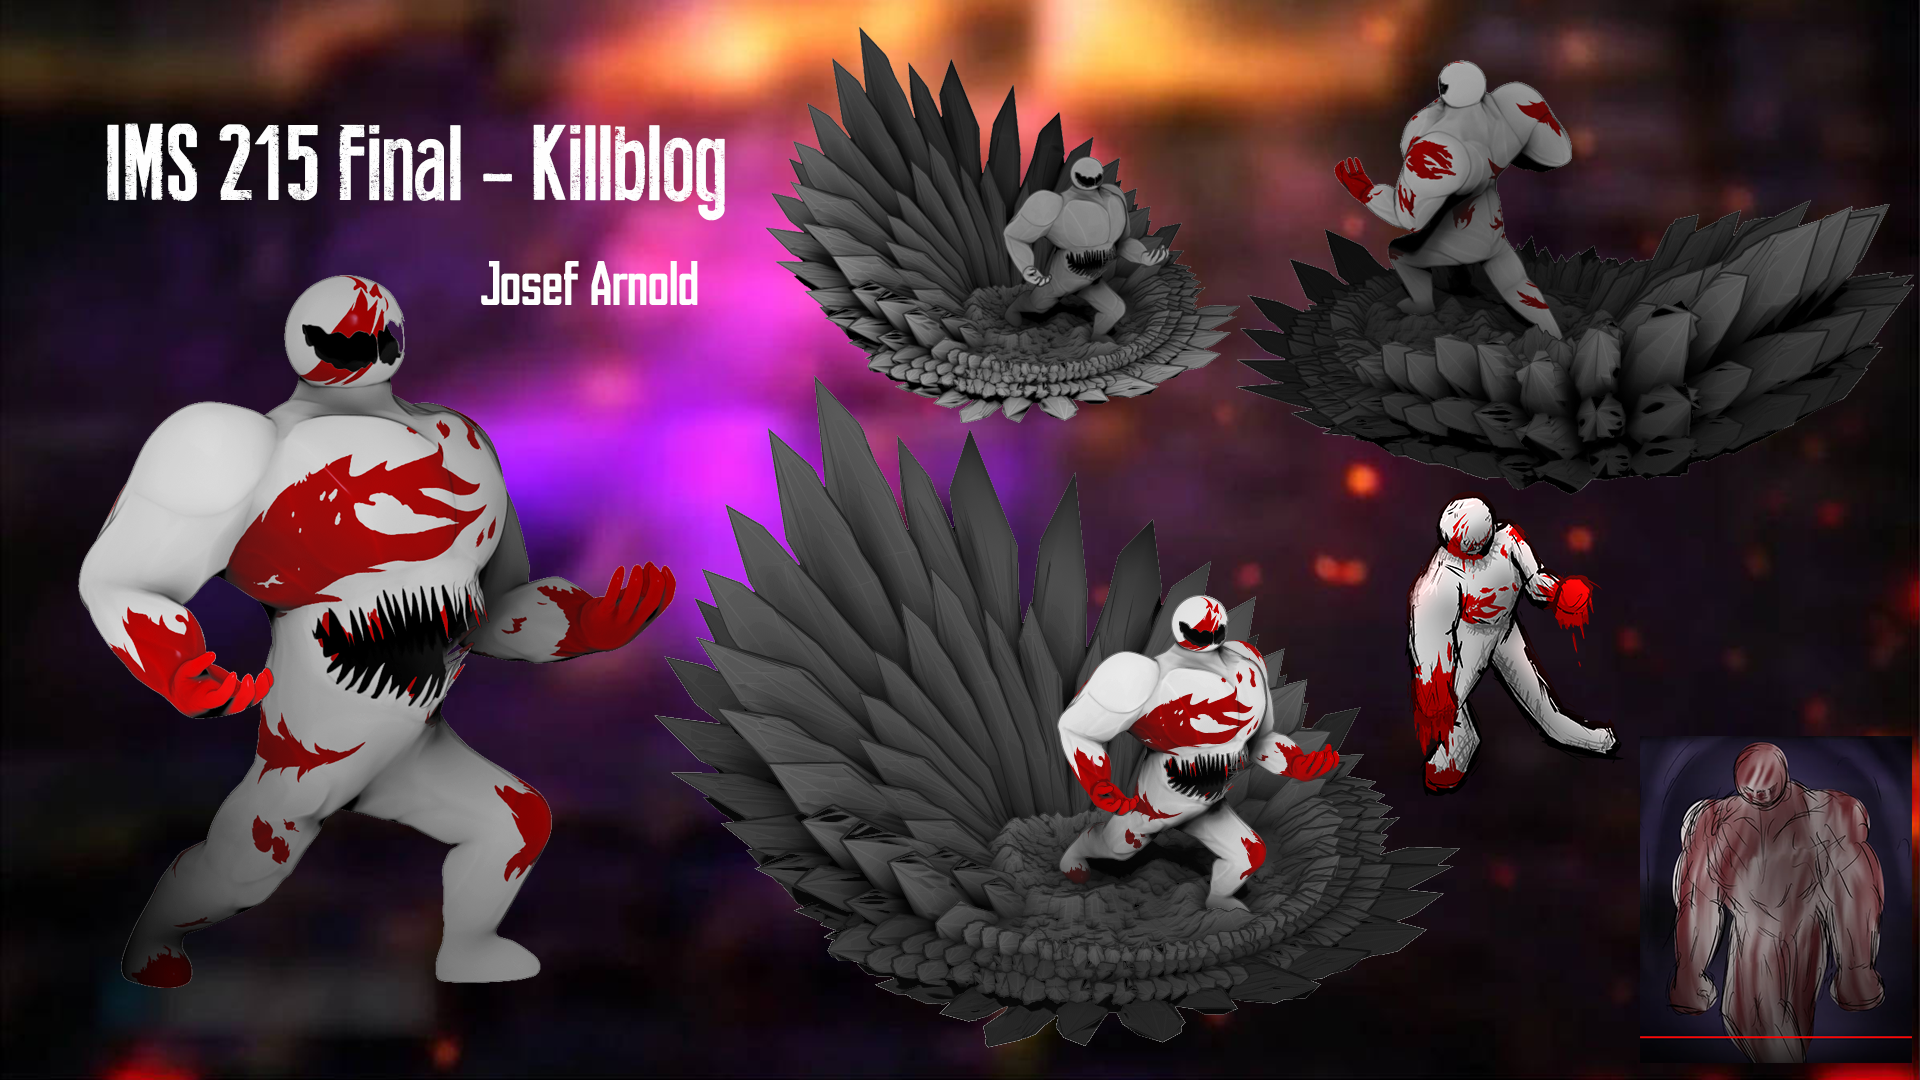
This sculpt was made entirely in ZBrush and presented in Photoshop for the final project of my 3D Digital Sculpting course in Miami University.
This sculpt was modeled after the character and mascot of the VS-debating community, Killblog - the personification of Brutality.
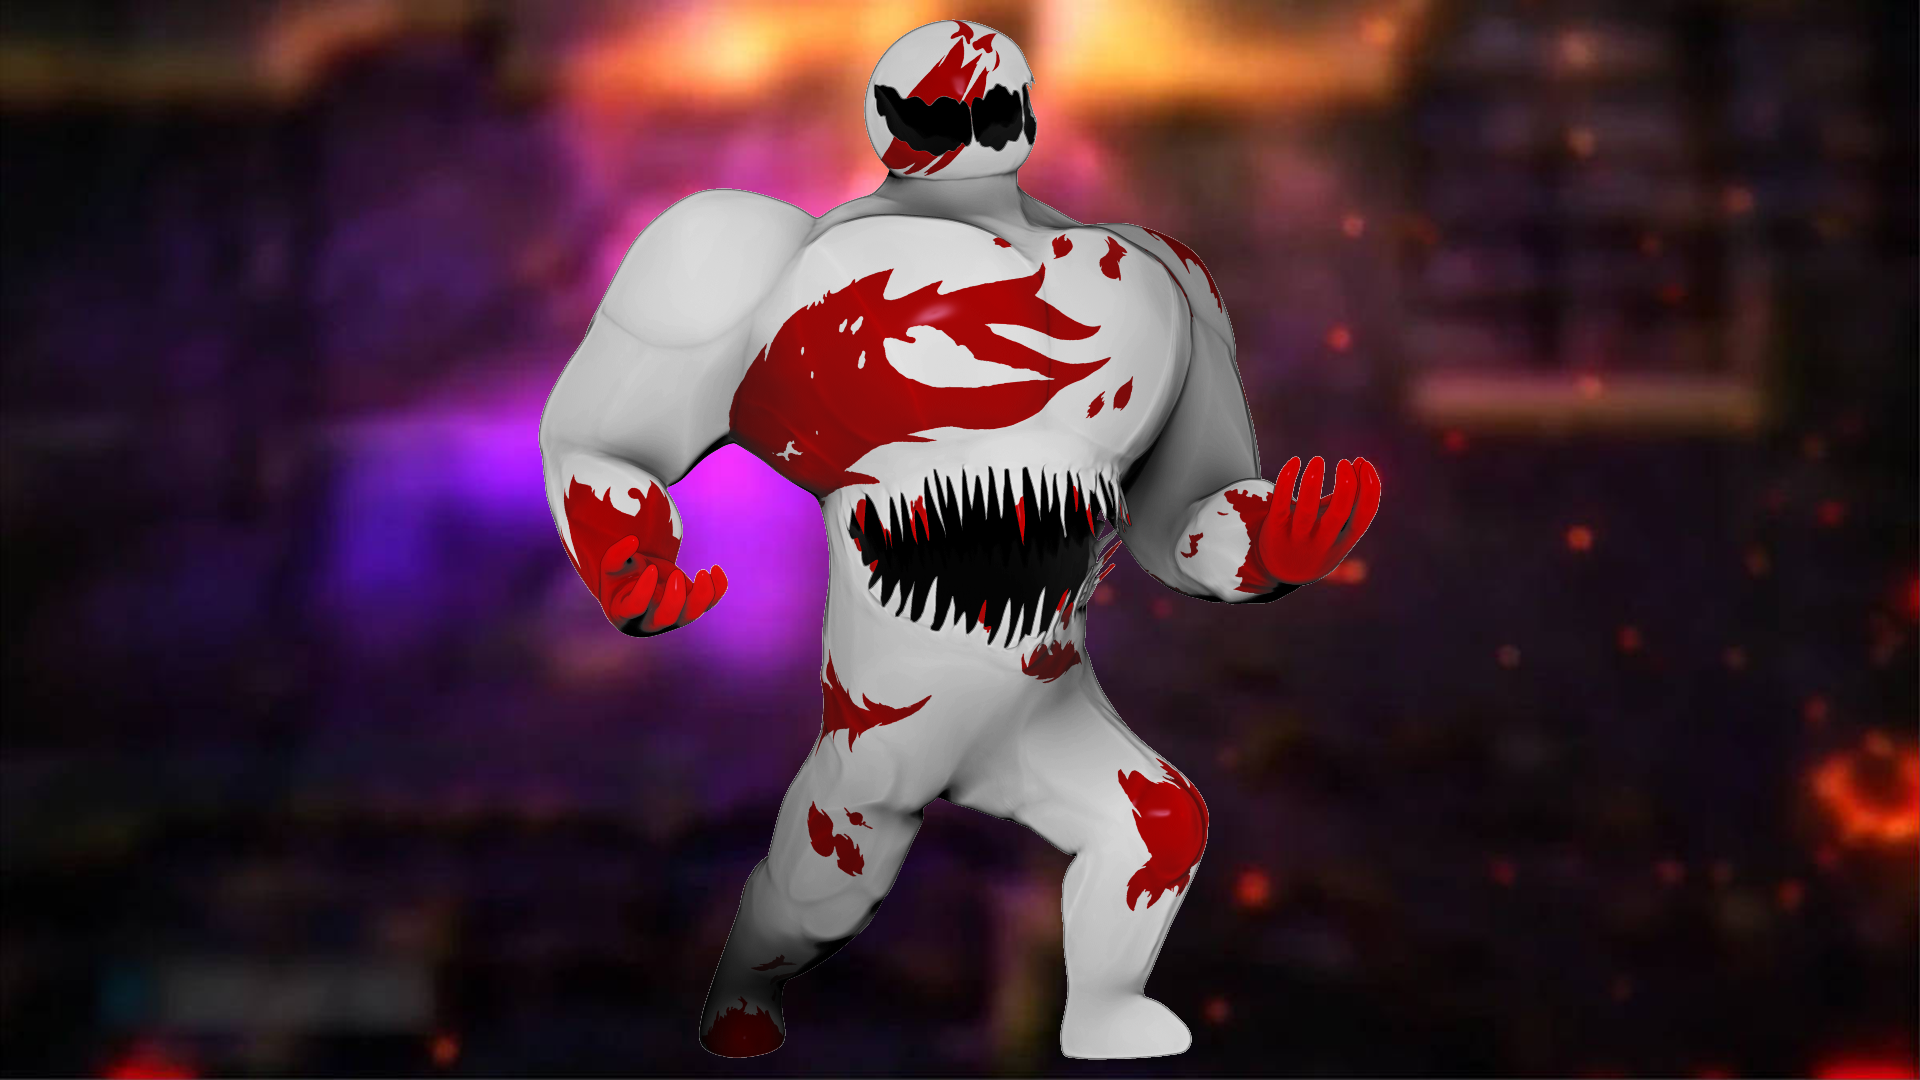
With this sculpt, I aimed to recreate the defined musculature combined with simple shapes which Killblog is constantly showcased with. At the same time, I wished to replicate not only the way his mouth parts and connects like a liquid as his only facial feature, but also the way his stomach rips open to devour enemies as showcased in the YouTube animatic video, Jerry Judgement vs Killblog. Throughout all of this, I wished to ensure that despite the 3D nature of the project, the sculpt would retain a 2-Dimensional feel as if it truly was a sketch or a frame of an animatic.
I started by using ZSpheres to construct the basic form, keeping the sculpt symmetrical. I then started deforming the spheres and sculpting the body through the use of brushes such as the Clay Buildup brush to build and subtract musculature, and the Pinch brush to create tighter divides between muscles. I would then start smoothing the sculpt, while adding and removing musculature as I felt was needed. For the head, I created a sphere and simply placed it where it would be, without any blending into the neck in order to keep the look consistent with Killblog's appearances. In order to create the holes in the sculpt's head and stomach for the mouths, I first used a sideways cylinder to carve the basic openings, leaving a front portion of the head closed together before using a small sphere to create another hole in order to make the base for the mouth and the trails connecting the top to the bottom. I then used much larger spheres in order to hollow out both the head and the body, and used the pinch and smooth brushes to smooth the stomach and mouth out, also pinching together the edges.
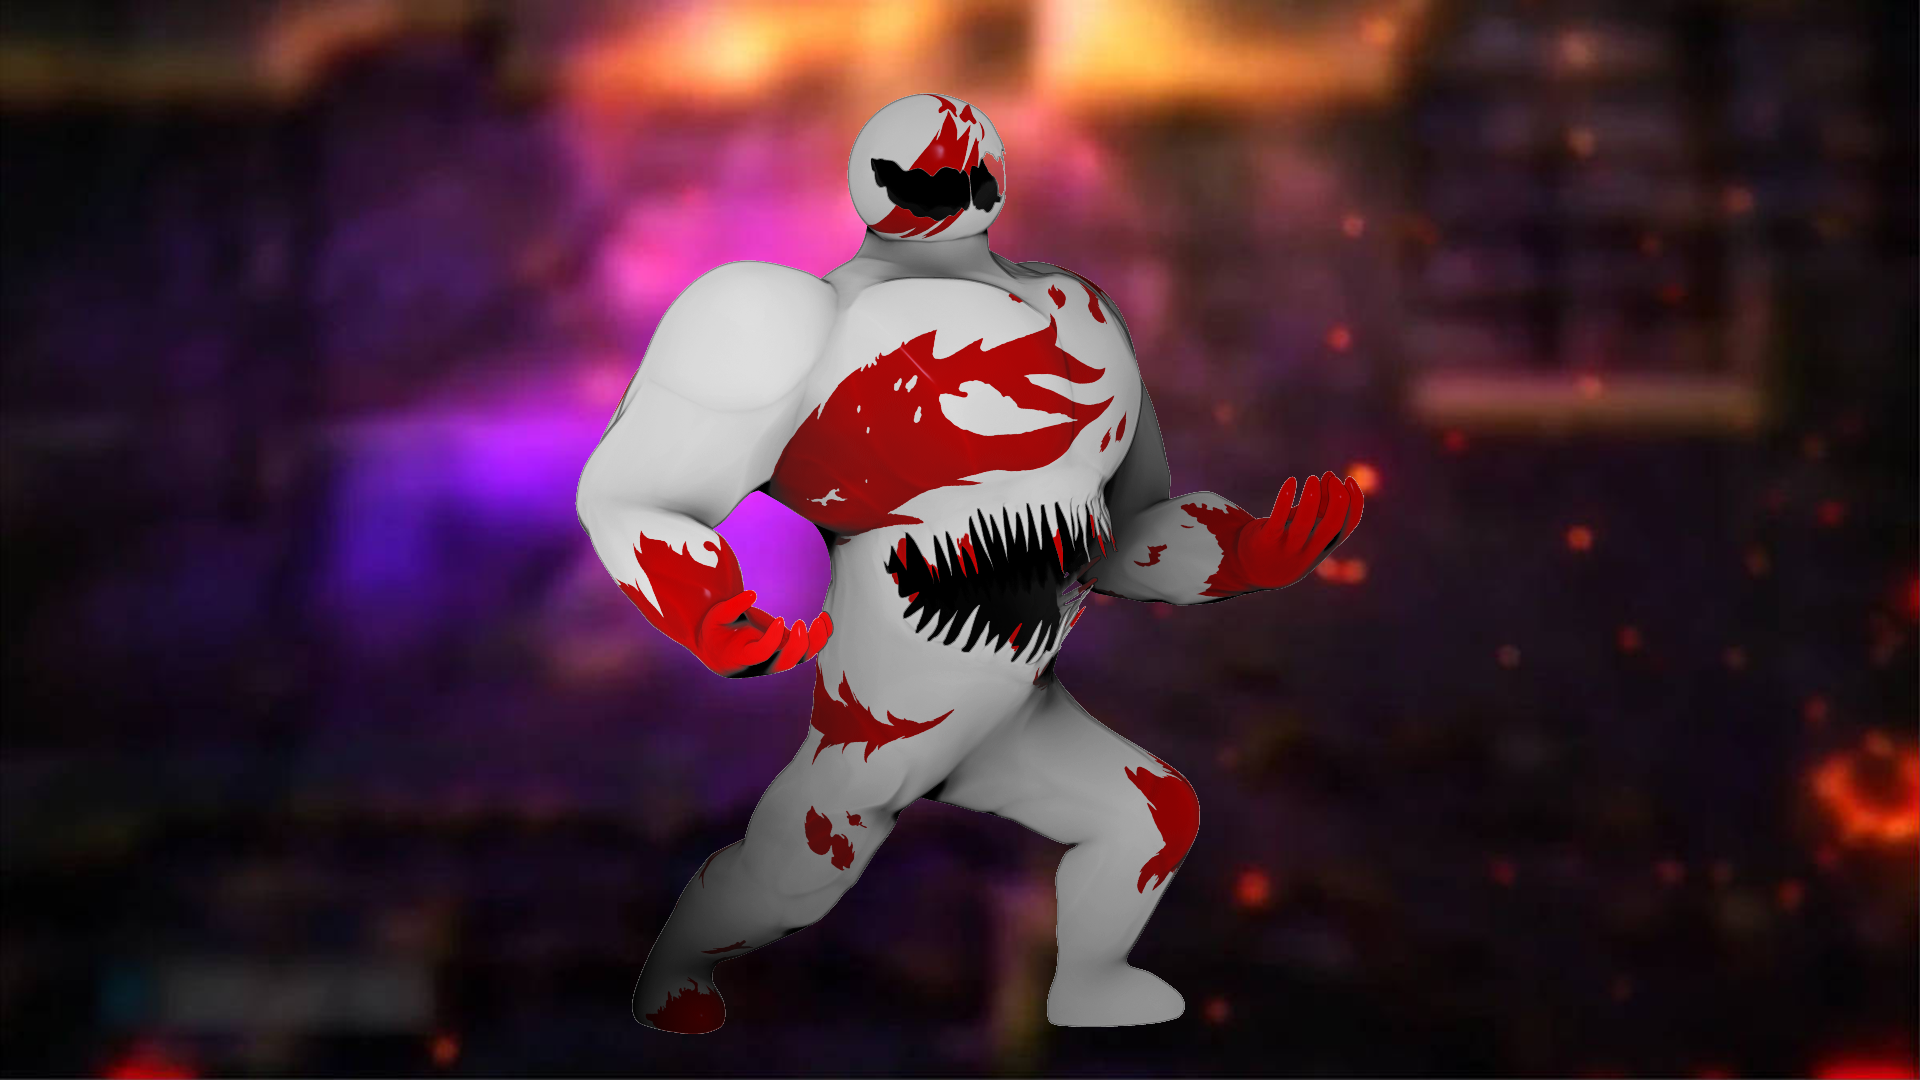
Breaking symmetry began with attempting to repose the sculpt for something more dynamic and reminiscent of a roar, which honestly became quite a hassle. Nevertheless, this endeavor was successful. I continued to refine the musculature as well as the mouths, and eventually I finally managed to finish the posed base mesh of the sculpt, with a white Sketch material. I then started the polypaint for the sculpt, using black for the insides of the head and the stomach. In order to paint the blood stains covering Killblog's body, I started by painting a solid mask all over his body in the exact shapes I wanted the blood splatters. Once the mask was completed, I inverted it in order to cover the rest of the body and painted over the now-unmasked areas with a red Gummy material. With that, Killblog himself was complete.
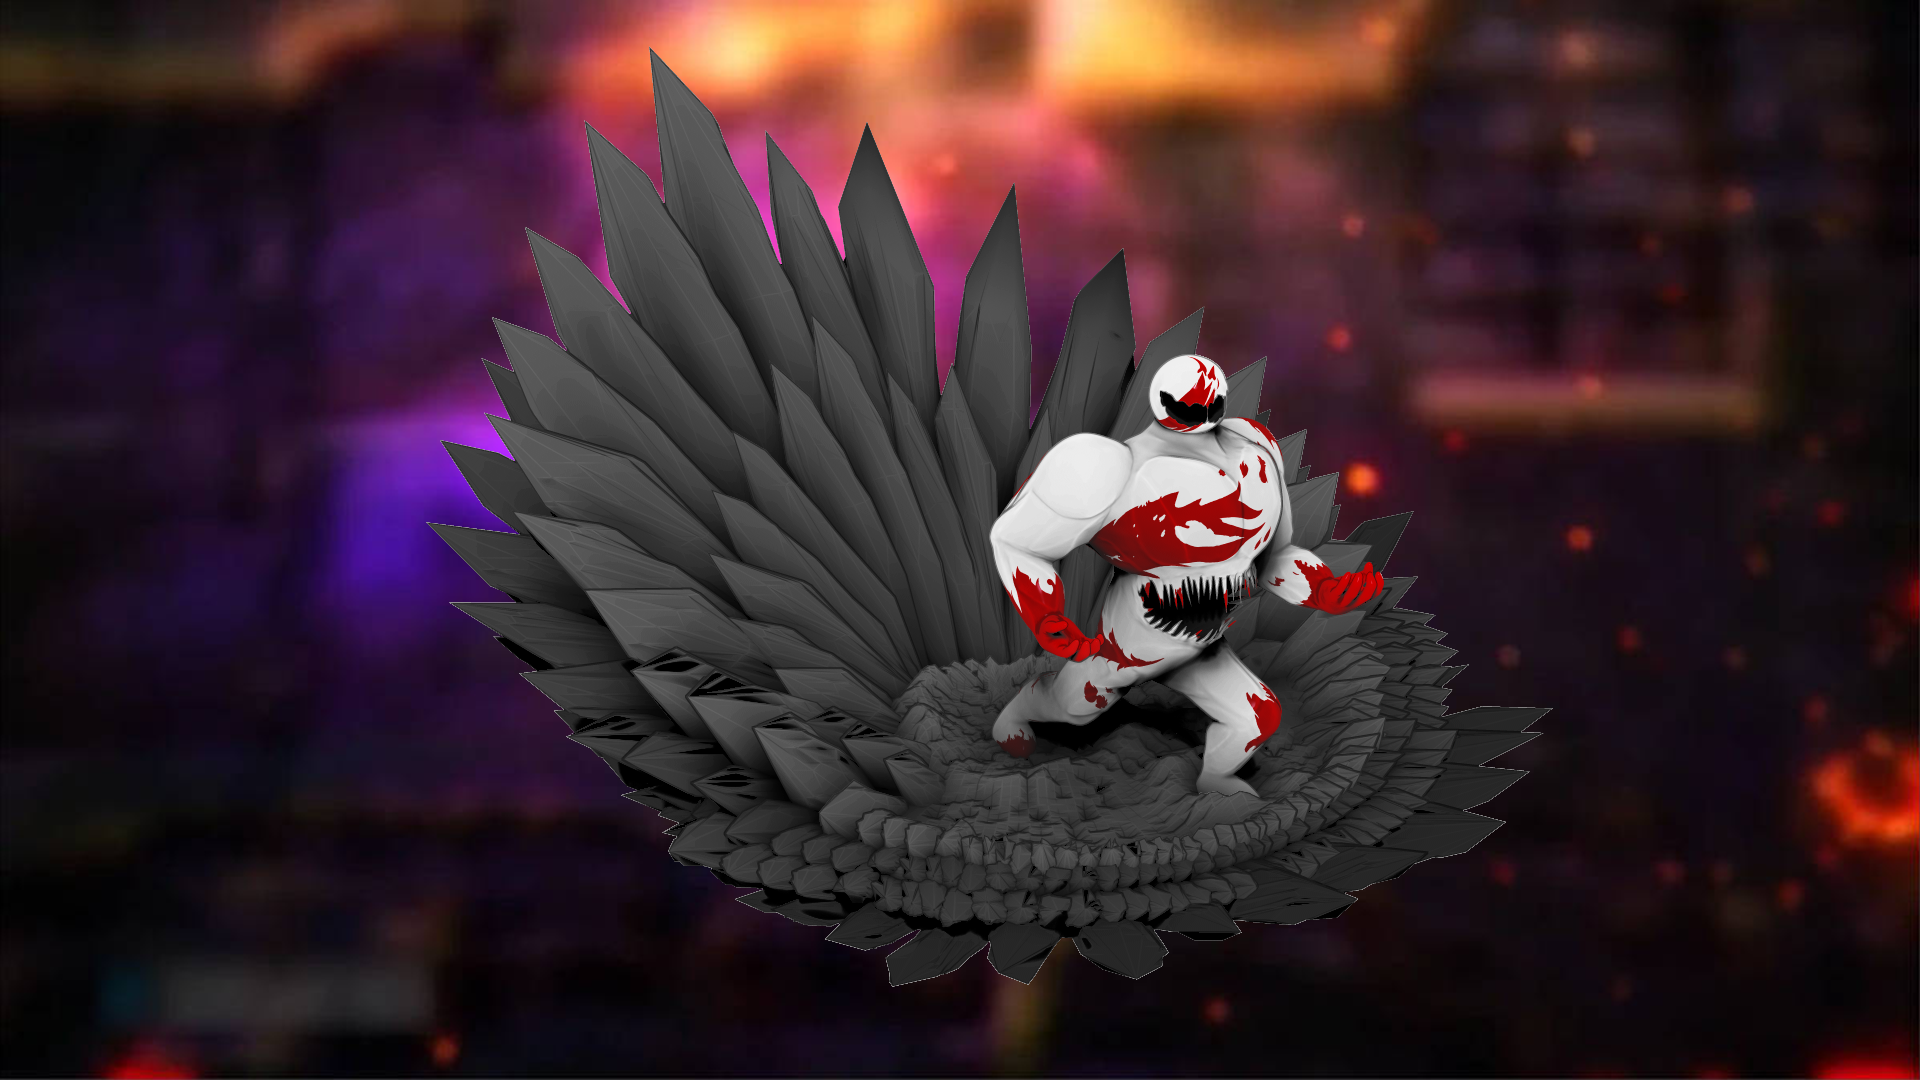
For the pedestal, I wanted to make a rock formation that made it seem as if Killblog stepped and made a crater where he stands. The ground was sculpted using a crater alpha, fixed to fit around his feet. The series of rocks were created all from a singular object, duplicated, rotated and resized to present it at different angles and make it look more like a series of similar but still different fragmented rocks. Each layer was also assigned a different color based on their elevation. Then, for the render, I adjusted some settings with the lighting and applied a cell-shading effect in order to drive the 2D aspect home. After fixing the render in Photoshop and applying a background, the result of this project became what you see above.
This is the sculpt I'm most proud of, one of the few projects I've genuinely been able to tell myself I did a good job on without laying into it too much. Of course, there are plenty of improvements to be made, from more dynamic posing to finding a better way to sculpt the musculature in order to define them more - perhaps I could've gone over some edges with a black Sketch brush, for instance. While this is one of the better sculpts I've made, this is still a stepping stone in order to learn how to improve further.